
How to Baby Proof a Camper Bunk
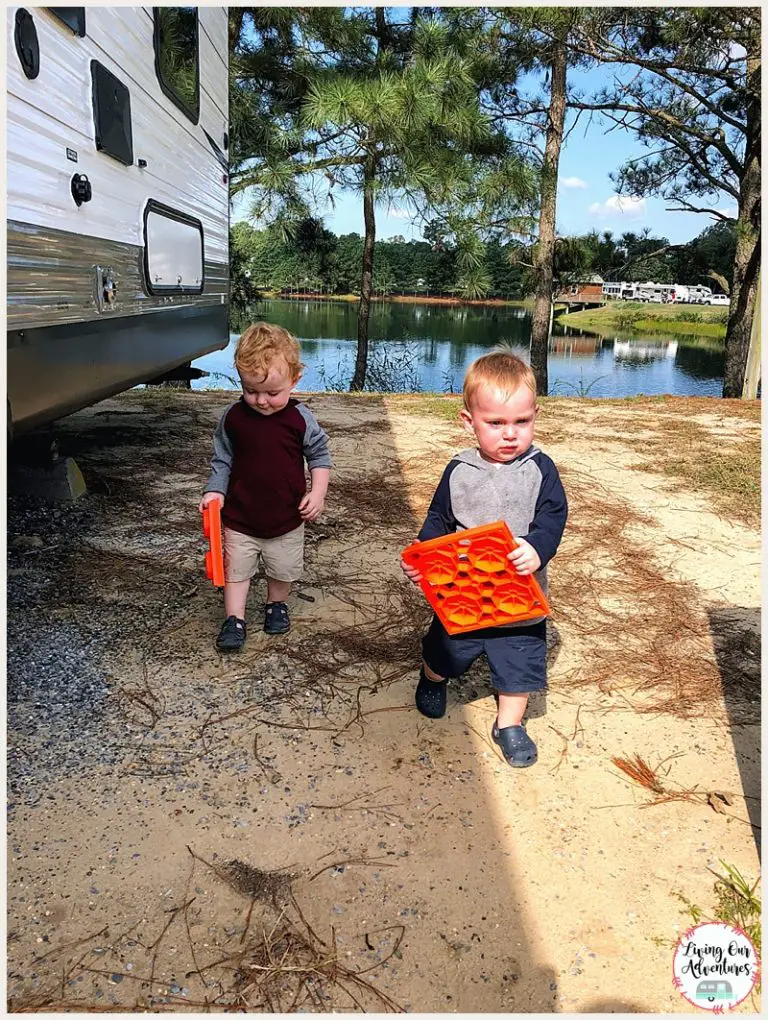
Picture this 3 kiddos under 2 staying in a camper for 3 nights. Now the camper did have 2 sets of bunk beds but NOTHING to keep those kiddos in bed. What were we going to do?? We needed Camper Bunkbed Rails. Taking 3 pack-n-plays was out of the questions, we just didn’t have the room. So I did what everyone else does I opened Pinterest and did a search. I found a few examples but nothing that was going to be a quick fix and we were leaving in a week.
So after thinking and pondering for a while I came up with this idea. What if we bought toddler bed rails and figured out some way to attach them to bed. So I took my pink tape measure and a notepad out to the camper and started measuring. The bunks were ?? long. With that measurement I started searching Amazon for a bunk rail that was long enough.
I didn’t find one that was quite long enough but I ordered two of the longest rails. I also found these bumps that you tuck under the sheets to keep kids from rolling out of bed. I also ordered 2 of those to put in the space that the rail wouldn’t cover.
Like normal I ordered the rails and the bumps without showing Jamie and just figured when they showed up we would figure it out. I do this often, lol! And of course they came and Jamie got annoyed because he just didn’t see how this was going to work.
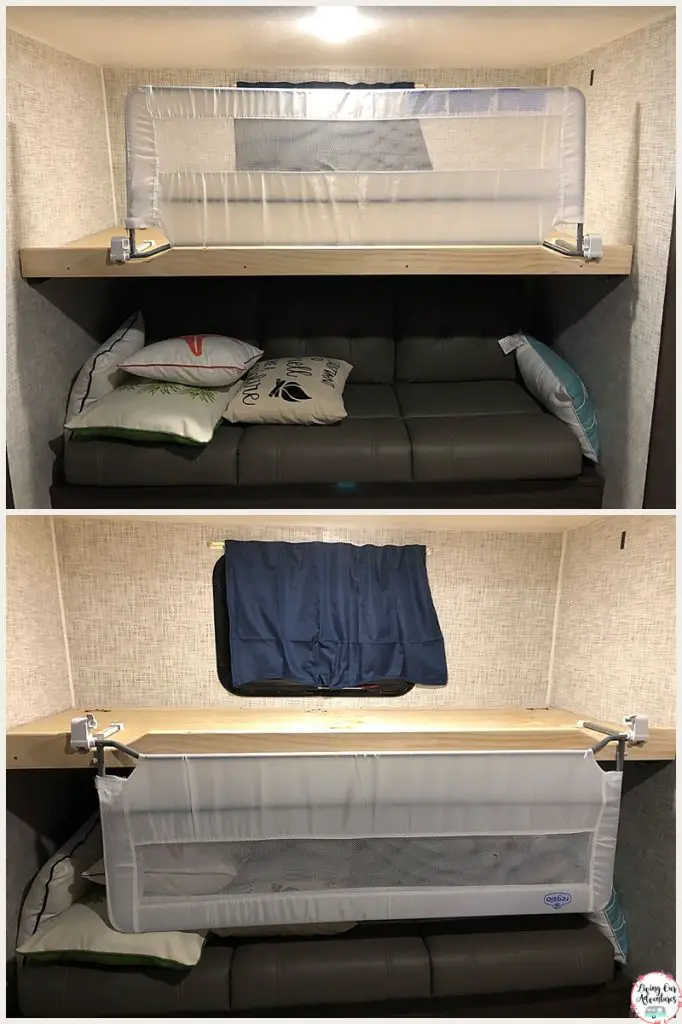
Well they ended up working!! Here is what we did…
Removed the trim board on the front of the bunk. Then cut a piece of 1×4 pine the length of the bunk to make a new trim board. We decide to make a new trim board because the one that we removed wasn’t real wood and we also wanted to option to put it back when the kids grew out of bunk rails.
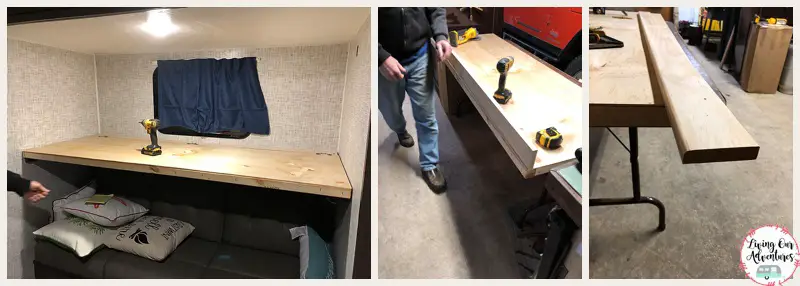
On the new trim board we rounded the top edge to make the edge smooth. I also sanded the other edges to make sure they wouldn’t be a hazard for the kids.

Back in the camper we determined where to position the rail. Using that measurement we notched the new trim board so that the hinge would fold down without obstruction.
When we installed the new trim board we added a few extra screws to ensure that it was going to stay.
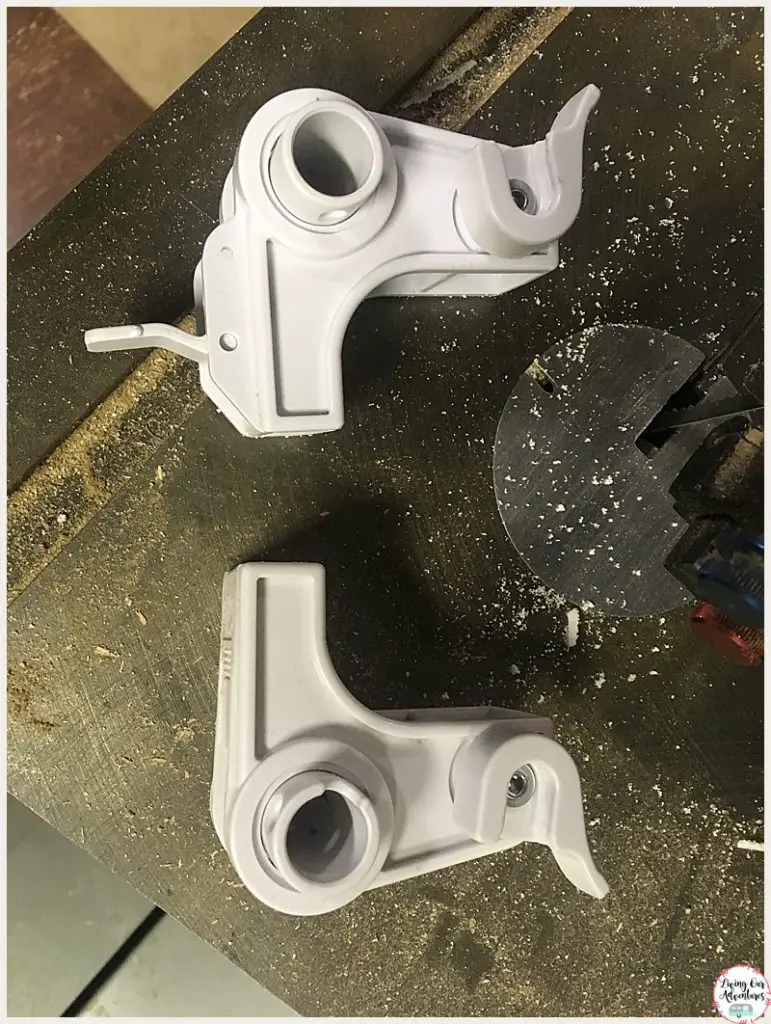
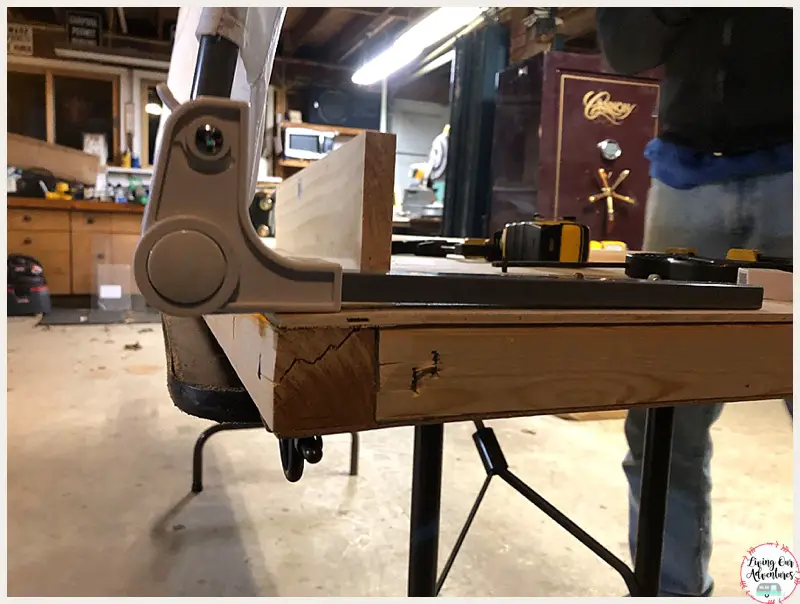
Because the mattress on the bunk wasn’t heavy enough to hold down the straps that came with the bunk rails. We got rid of them and kept the hinge part. To make sure it layed flat we used the bandsaw to cut off the plastic piece that held the strap. We also drilled a hole at the end of the hinge arm.
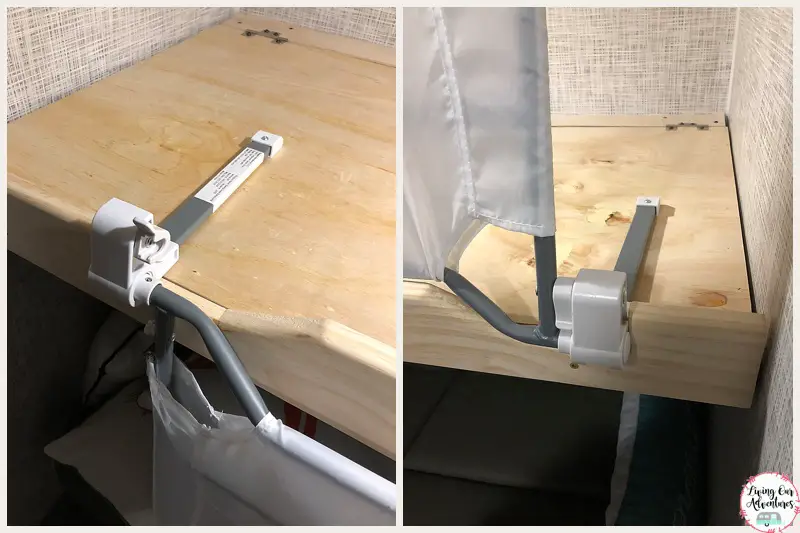
So instead of using the straps, we screwed the hinge arm into the bottom of the bunk. Making sure the hinge hung over the edge of the trim board just enough so the rail could fold all the way down.
Done!!! Except the fact that the new trim boards needed stain or paint but that could wait.
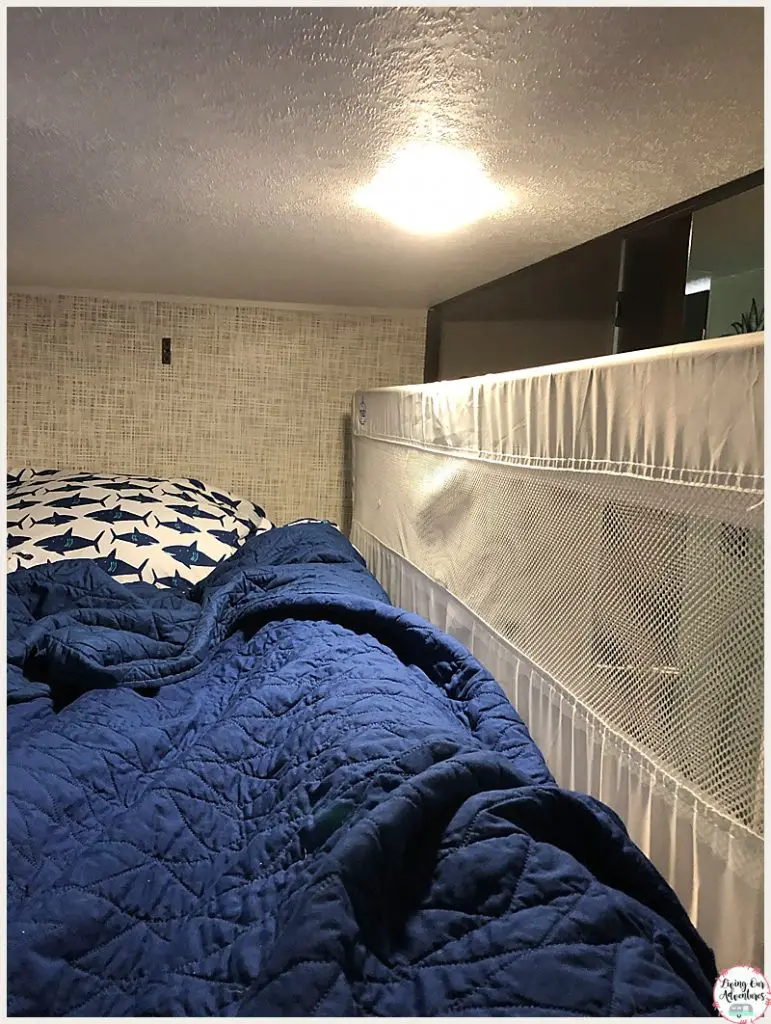
We are so happy with how these Camper Bunkbed Rails turned out and the boys loved sleeping in their new bunk beds. They also loved their sheets and quilts that we picked out for each kiddo, you can see our bunkhouse makeover here.
If you are looking for other Camper Modifications please subscribe to my Monthly Newsletter and check out our Camper Mods page.

This is a very good tip especially to those fresh to the blogosphere.
Short but very precise info… Thank you for sharing this one.
A must read article!
Thank you!!
Like!! Really appreciate you sharing this blog post.Really thank you! Keep writing.
Hi there, just wanted to mention, I liked this post.
It was practical. Keep on posting!
Thank you this is a great idea.
Going for my first time with my little guy this weekend.
Going to be an edventure.