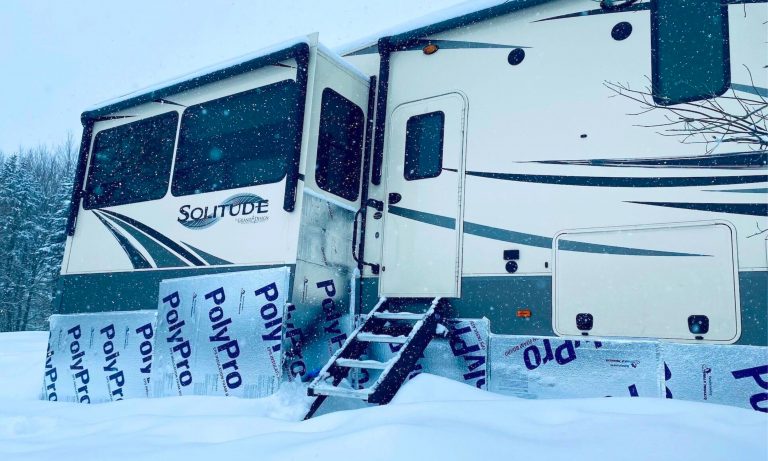
Winterizing Your Camper
Winterizing your camper is a must if you live/store your camper somewhere where it gets COLD!! The process doesn’t have to be hard or take a lot of time. We have perfected this process!! Let me preface this message by saying we have applied this method to 2 PUP’s, 2 Travel Trailers and an MC (Motor Coach Class A) with no issues.
This post may contain some affiliate links for your convenience (which means if you make a purchase after clicking a link I will earn a small commission but it won’t cost you a penny more)! Read our full disclosure policy.
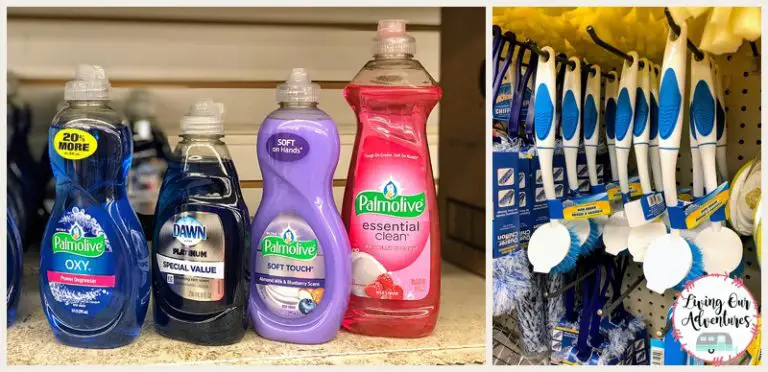
The Tools
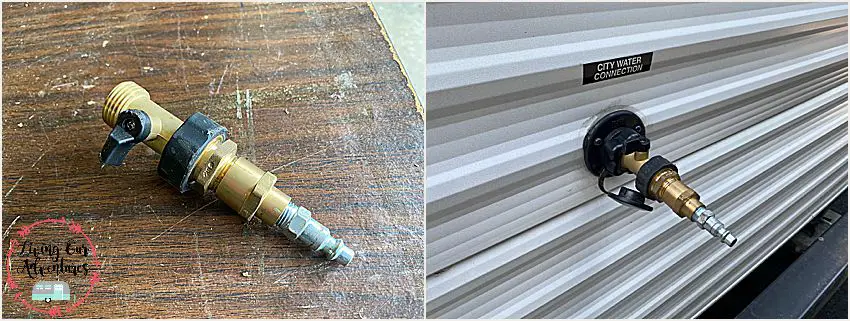
The best way to winterize your camper is with an air compressor that can maintain pressure at 35 PSI. Other supplies you will need are a Camco blowout plug, an extra length of hose for your compressor line, 1 or 2 garden hoses (depending on how far away your camper is from your compressor) and I like to have 2 gallons of RV Antifreeze on hand per camper. Your hot water heater may be behind a panel or something that may require extraction so have a cordless impact and a complement of bits so you can gain access. The most common is a square drive but yours may require a different bit so be prepared. We choose to construct our blow outfitting from #Lowes so we could include a shut-off valve. We chose these types of connectors because we have a stationary compressor so all we need is more garden hose to bridge the distance from our compressor to our camper.
Before Winterizing
Before beginning this process you need to discharge your black, grey and grey 2/galley tanks. We recommend using the Rhino Blaster Pro with Gate Valve. At the end of every camping trip we use the Rhino Blaster Pro with Gate Valve to backfill and clean out the black tank prior to leaving the campground. It helps to clean out so much more debris. We never realized how much TP and waste was left in the black holding tank until we started using the Rhino Blaster Pro with Gate Valve.
Draining the Water lines
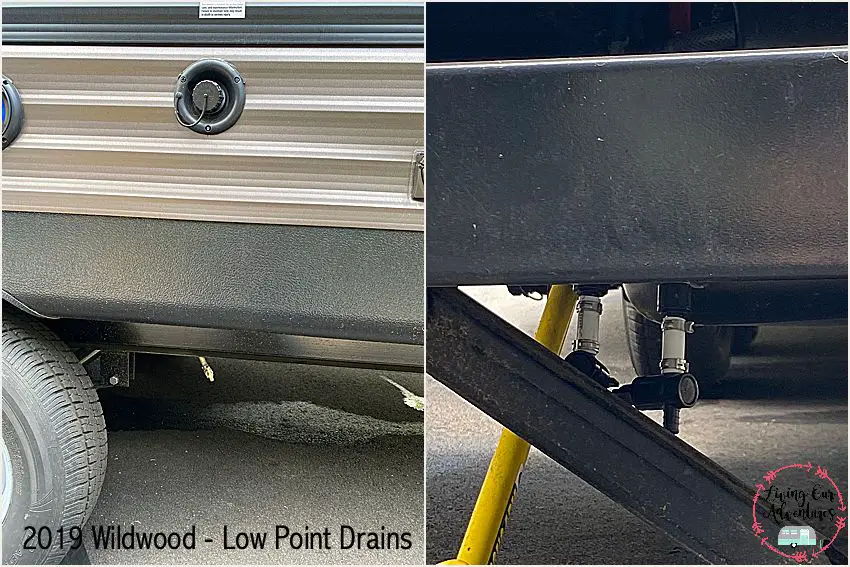
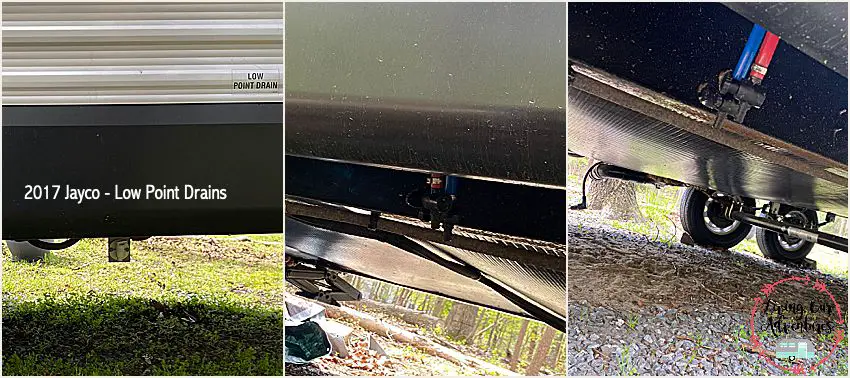
To begin, open up all the low point drain valves (which should be identified with a sticker on your rig if it is a newer model and it hasn’t worn off yet due to weather or UV damage) along with all the faucets and showers. The low point drains are for the pressurized system connected to city water and the potable water tank. Allow the system to drain for several minutes until there is no more water running out of the drain points. Then go back and close all the drain points, faucets and shower(s).
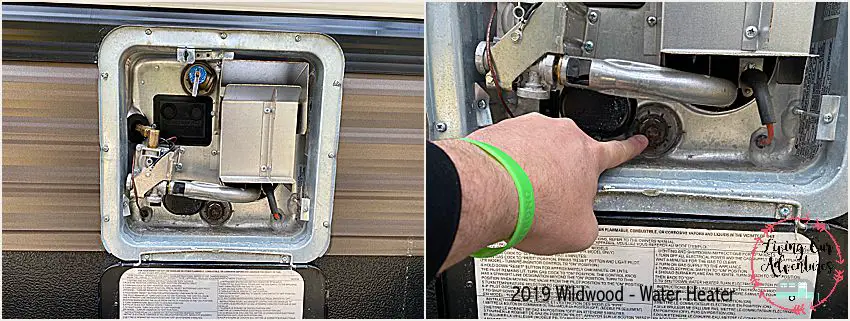
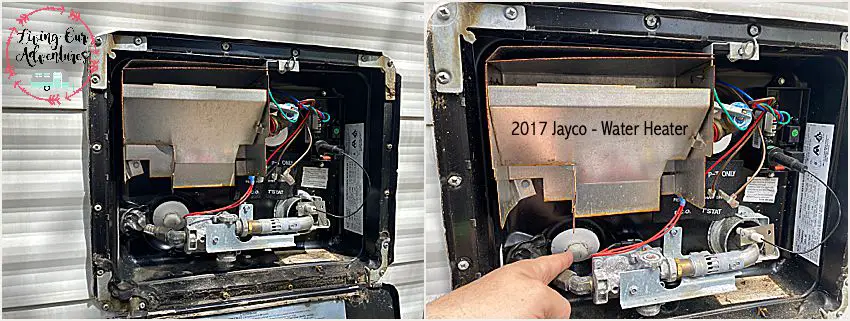
Hot Water Heater
Then drain and blow out the hot water heater. Make sure the gas has been turned off along with the electric heating option before moving forward. Take the drain plug/anode out of the hot water heater and let it drain. Based on the campers we have used, this method has required anywhere from a ¾” to a 1 1/16” socket to remove the plug/anode. Your’s could be different so make sure you use the socket that best fits your model so as not to round or strip the fitting. With the blowout plug attached to your rig and the compressor on blow out the remaining water from the hot water heater, this could take a couple of minutes. When I feel that there is no more water in the tank we will close the shut-off valve on our blow out plug and reinsert the drain plug/anode.
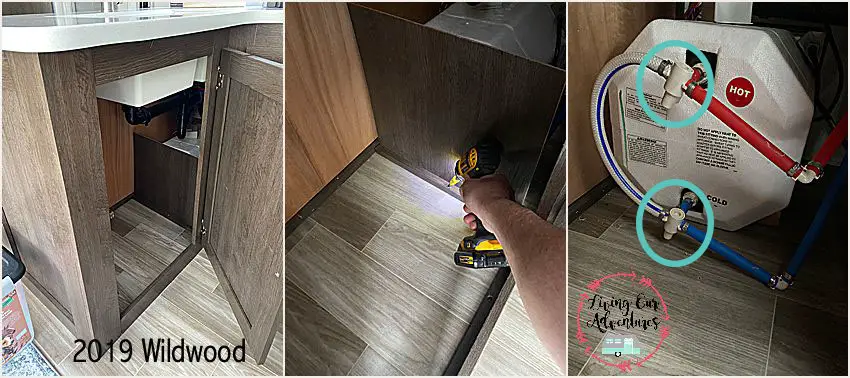
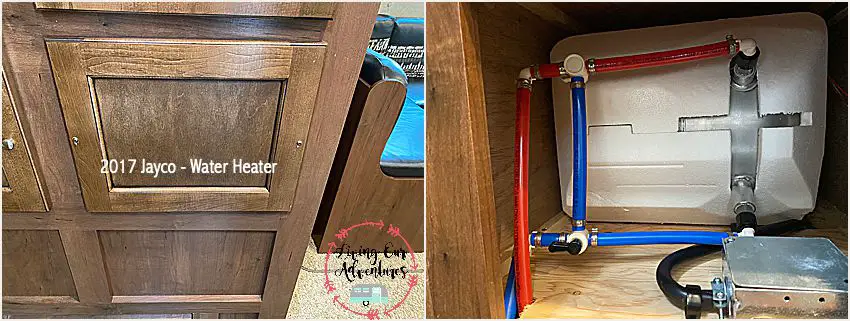
Once that is done on the outside we need to access the hot water heater from the inside of the trailer so we can shut off the cold water supply line and the outbound hot water line from the hot water heater. There are usually two T connectors; 1 for the incoming cold water and 1 for the outgoing hot water which create a by-pass for the hot water heater.
Think of your water system as having rings, starting at the point the water enters your camper moving outward. We like to start bleeding the system at the furthest point from where the water enters our camper (where the air hose is now connected) and work our way inward to that point.
The Bathroom
In our camper the furthest point away is the inside kitchen so that is where we will start. We will re-open the shut off valve on the blowout plug and open up the cold water faucet until nothing is coming out, not even mist and close. Then we open up the hot water faucet until nothing is coming out, not even mist and close. Then we move to the next closest point and so on until we have hit every point including the toilet. For the indoor and outdoor shower(s) we remove the shower head(s) and let the water line drop as low as it can during this process. We prefer to blow out our outside shower last since it is the lowest point in the functioning water system especially when the shower line is dropped to the ground.
Fresh Water Tank/Water Pump
To do this we turn on the water pump and open up the cold and hot water to our kitchen sink. It usually takes about 30 seconds and all the water has been removed from the water pump and then we can turn off the pump and turn off the hot and cold water. Now go to the low point cold and low point hot water lines and open them one at a time until no water is blowing out.
Final Steps
The last step is to put the RV antifreeze down all the drains, in our campers there are 2 kitchen sinks, bathroom sink, bathtub, toilet and outside kitchen sink. I will flush about 3-4 cups down the toilet and leave about 2-3 cups sitting in the bottom of the toilet over the winter to help keep the seal lubricated. I have a heavy pour so I will use about 1-1 ½ gallon per camper.
Please note that this is how we winterize our campers. We have never had an issue with pipes freezing or breaking. If you have any questions please contact us. How you decide to winterize your camper is your decision, we are not liable for any damage done during or after YOU winterize your camper.