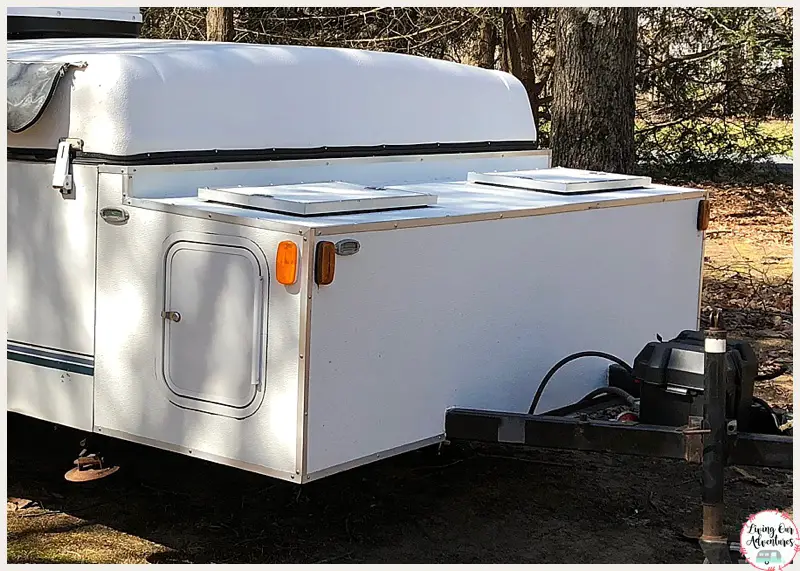
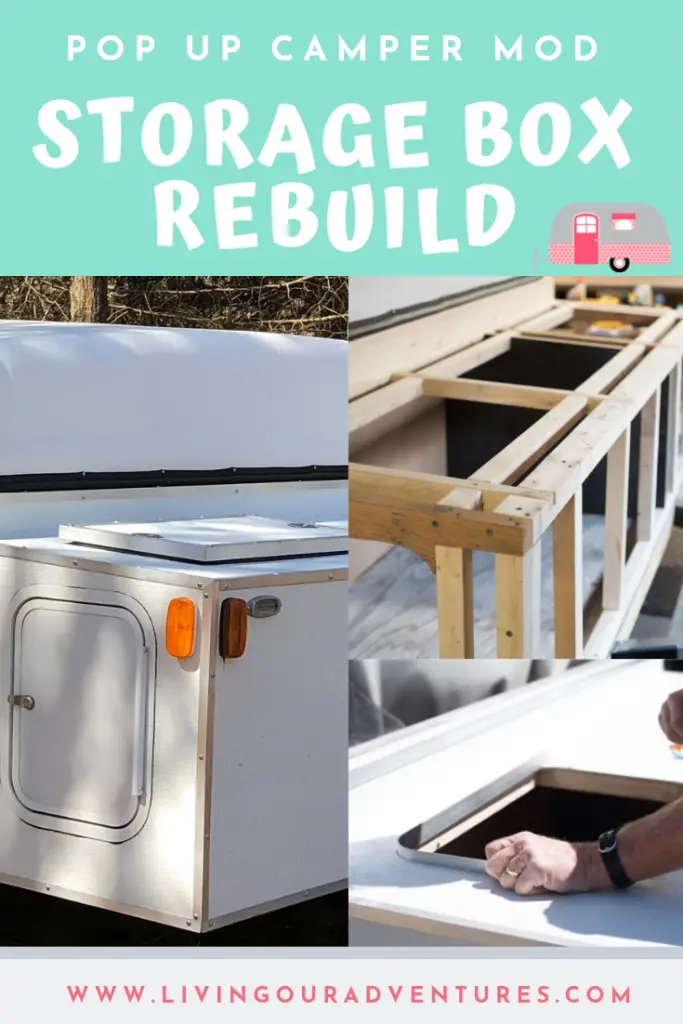
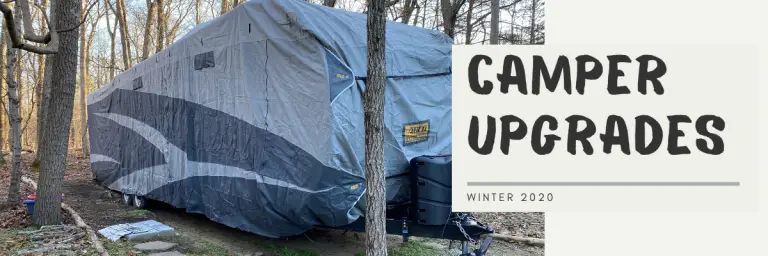
Pop Up Camper Storage Box Rebuild
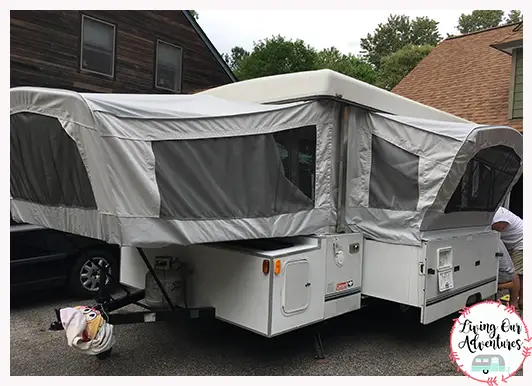
From the beginning, the front storage box on our Coleman Pop Up was a problem. The lid was breaking and wouldn’t seal correctly. The floor was rotten and falling apart. Basically, we were one bump away from losing the entire thing. So a Pop Up Camper Storage Box Rebuild ended up at the TOP of the must-do list.
Taking the Box Apart!
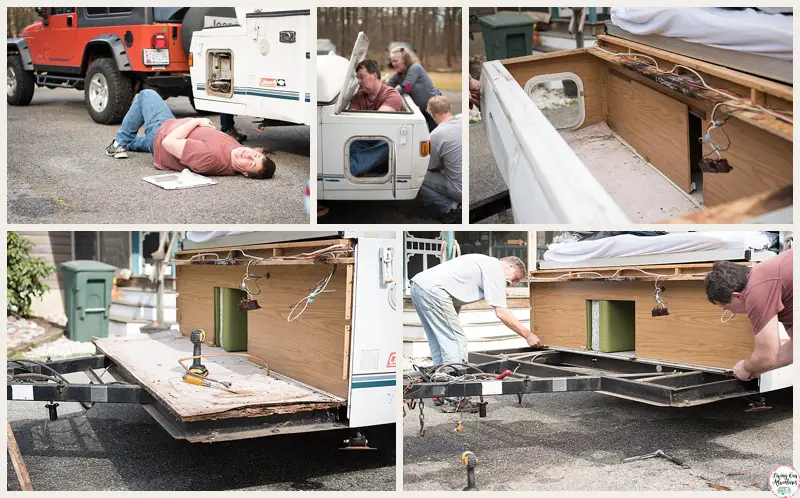
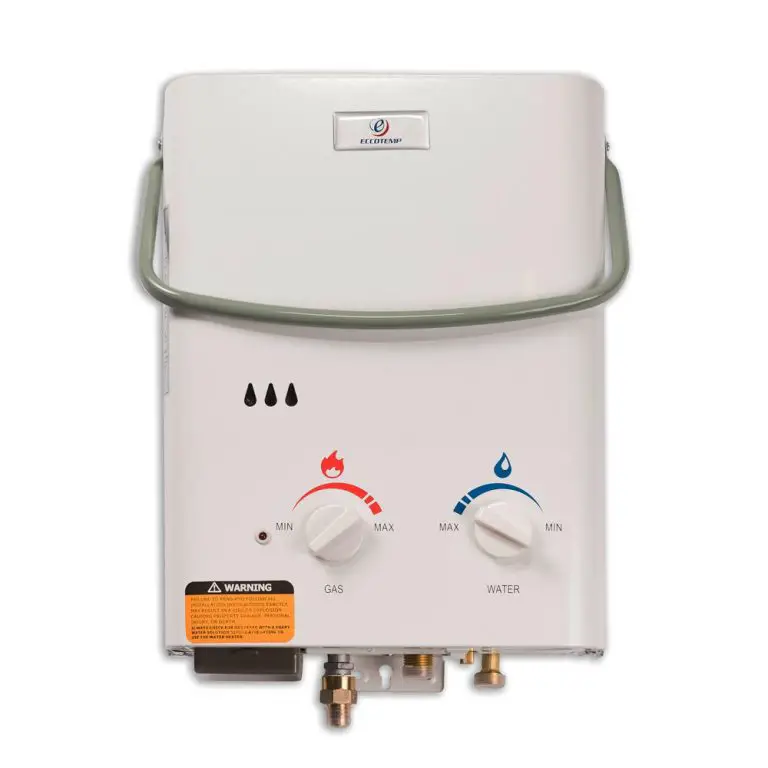
This was the fun part! At first, we were going to try and keep the outside panels and reuse them but as we took the box apart we ended up cracking them and it wasn’t worth saving. We had a big pile for the dump when we were done. As a side note, the water heater was housed in this storage box, you can read about our replacement here.
From there I looked up buying new ones and that was just out of our budget!! My dad’s response was that we could rebuild it better than it was built in the first place.
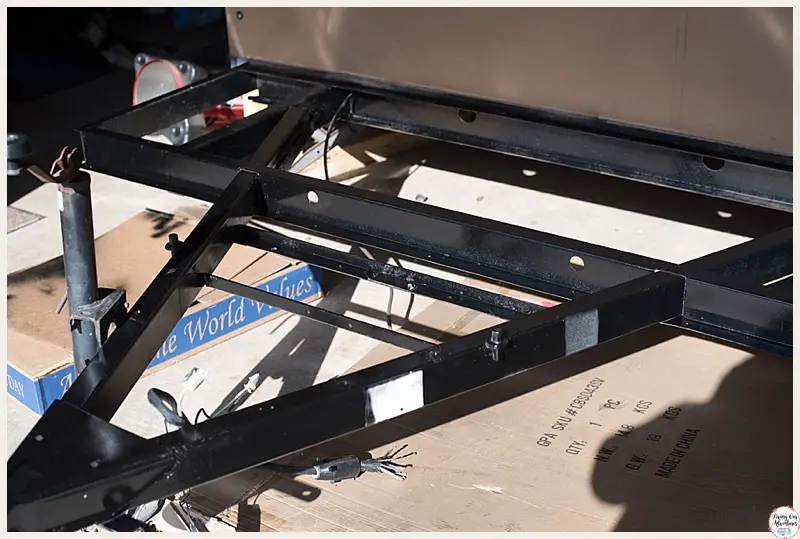
Rebuilding the Floor
We decided to do away with the pass through that went from the inside of camper to the storage box. So to close off the area we used MDF board and screwed it into the existing walls.
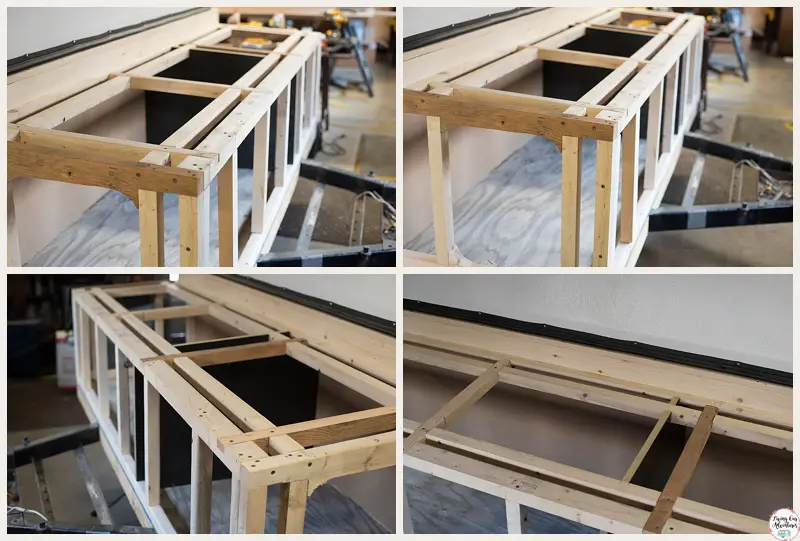
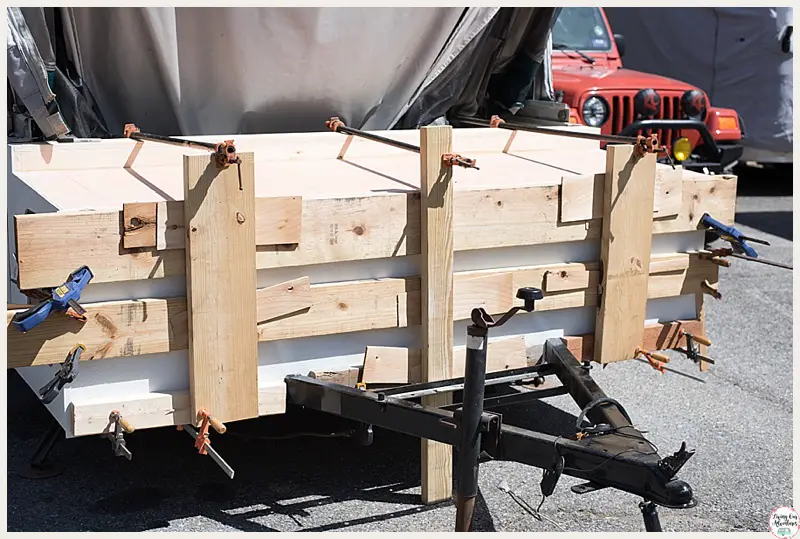
Building the Walls
To make the frame we used 2×4’s cut in half on the table saw. To make the support for the top we notched into the boards so that everything laid flat. For the new top, we decided to have 2 smaller doors that opened instead of one big door. This also meant that we could divide the compartment to prevent things from sliding around.
We made sure to give the top a slight slant so that the water would runoff.
Once all the framing was done we covered the entire thing with plywood. Attaching the plywood to the outside of the framing. We waited to cut the door on the top till the very end.
Making it Waterproof
We covered the walls with fiberglass sheets that you can get from Lowes. We didn’t want to put any holes in them so we used Construction Adhesive and glued the sheets to the plywood.
On the seems we glued aluminum angle (you can find them at Lowes) and then caulked. We recommend using 3M- 5200 Fast Cure Polyurethane Adhesive/Sealant when caulking.
The inside of the storage box was given a coat of polyurethane as a layer of added protection.
Hatches & Latches
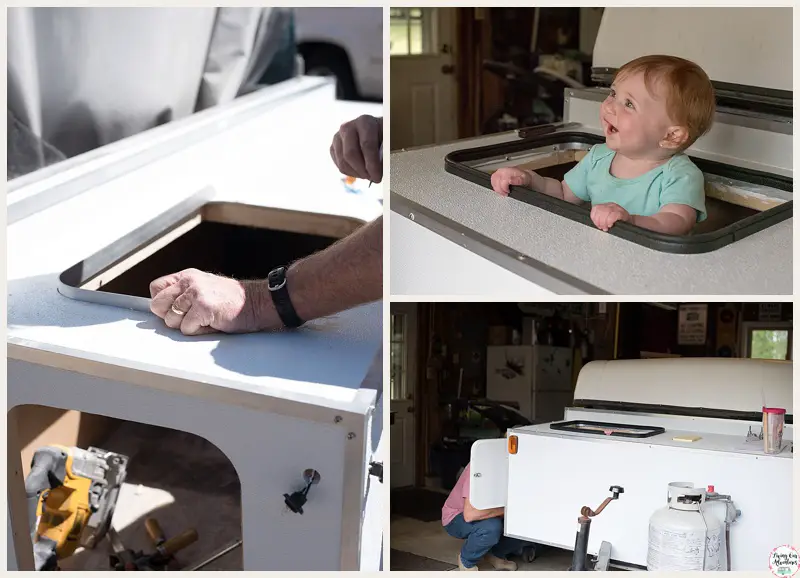
For the two side compartments we ordered used doors off of eBay. I searched forever trying to find two hatches that would fit in our budget and give us the most room to get into the box. The doors ended up measuring 16.25″ x 12.75″.
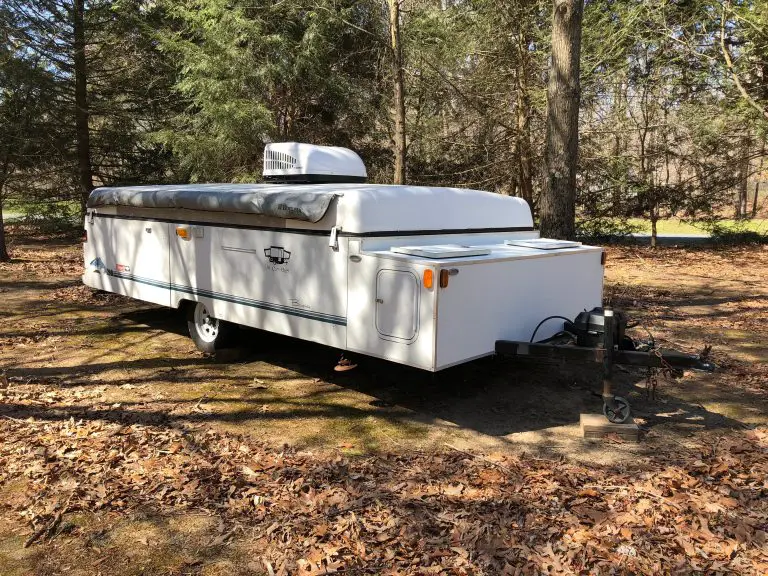
For the top, we created hatches by cutting rectangles (with rounded corners) out of the top. Then we framed the cut out with a piece of metal about 1 1/2″ wide by 1/8″-3/16″ thick. My Dad created a jig to conform the metal perfectly to the inside of the rounded corners. Now the only thing to do was to use 1 straight piece of metal, bending all the corners at just the right place, to create the lip needed for the rubber seal. Each was sized to perfection then predrilled so they could be screwed into place with stainless steel pan head screws but before that, we removed the metal rim and cleaned it with denatured alcohol and applied a bead of 3M 5200 Marine Fast Cure Polyurethane Adhesive/Sealant to all the surfaces the metal rim will contact. Reinstall metal rim and secure with the stainless steel screws in the holes that have been predrilled. Once secured a bead of the 5200 was applied to the top where the metal rim meets the fiberglass sheeting and another bead was applied to the underside of the metal rim inside the storage compartment. Once the adhesive/sealant cured we lined the top opening with a thin piece of aluminum so that the rubber seal would have something to stick to. For the lids we used the same process as we did for the walls to make a lid that was slightly bigger than the opening, this was edged with aluminum angle and Southco M1-20-31-58 Compression Latches were used to keep the cover watertight and in place.
Extras
We ordered all new lights from Amazon for the outside of the camper. And while the front storage box was off, my dad rewired the entire camper so that it made sense and installed a new inverter that would accommodate the AC unit we were going to install.
There is probably a step or two that we missed when writing this post. If you have any questions please email us at livingouradventures@gmail.com. We would be glad to help.
More Pop Up Camper Projects-
- Everything You Need to Know about Camping in a PopUp

- Must Haves for Summer Camping in a Pop Up

- Coleman Pop Up ABS Roof Repair

Deeanne,
The rebuild of your storage box looks great. One question, how did you acomidate the Propane tank? My Cheyenne has an indentation on the front of the box for the tank. Thanks in advance.
Dana